Helldivers 2 How To Kill 100 Enemies With A Gatling Sentry
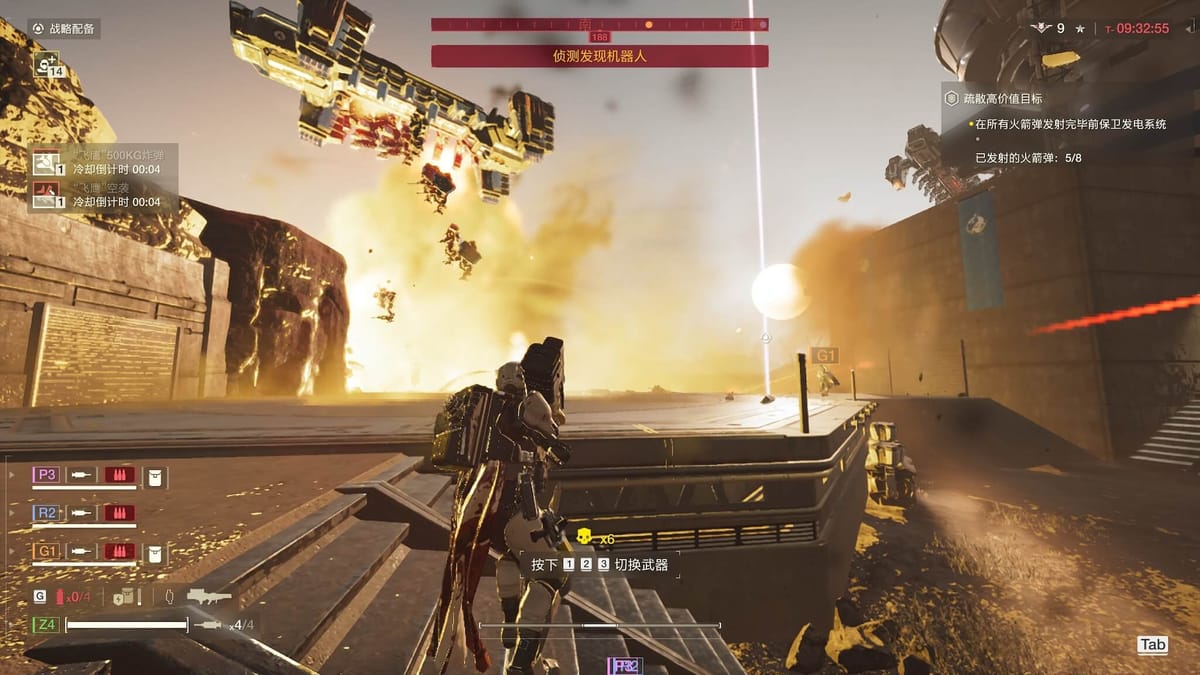
Helldivers 2 has surged in popularity among tactical shooter enthusiasts for its demanding gameplay and the intricate cooperation it requires. A unique feature of the game is its strategic deployment of equipment, which can significantly alter the outcome of any mission. One such invaluable asset is the Gatling Sentry, a deployable turret known for its rapid-fire capability and immense power. Killing 100 enemies with a Gatling Sentry not only demonstrates mastery over this piece of technology but also brings a player closer to becoming an elite Helldiver. This guide is designed to help you achieve this milestone efficiently and effectively.
Understanding the Gatling Sentry is fundamental. This automated turret comes equipped with a high-rate-of-fire gatling gun, capable of mowing down light to medium armored enemies with ease. Its greatest strength lies in its ability to provide sustained fire, covering angles or choke points where enemies are likely to swarm. However, its ammunition is finite, and placement becomes crucial to maximize its lethality.
To start, selecting missions with predictable enemy spawn locations or those that require defending a specific point can be advantageous. Settings that force enemies into narrow pathways or bottleneck areas are ideal, as they concentrate targets within the Gatling Sentry's firing range, increasing your kill count efficiently.
The choice of map and mission type significantly influences your strategy. Missions with objectives that necessitate holding a position for a certain period, or those that spawn waves of enemies, are perfect. These scenarios allow you to place your Gatling Sentry in a spot where it can continually fire upon incoming enemies without substantial risk of being flanked or destroyed.
Another key factor is the positioning of the Gatling Sentry. It should ideally be placed at a location that offers a wide firing arc and minimal obstacles that could obstruct its line of sight. High ground can be particularly beneficial as it provides a broader view of the battlefield, making it harder for enemies to approach the turret without being detected. Moreover, placing the sentry so it covers your flank while you focus on another direction can significantly enhance your defensive setup.
It's also crucial to manage the Gatling Sentry's ammunition. While it's tempting to deploy it immediately upon encountering enemies, waiting for larger groups or more challenging waves can ensure you make the most out of its firepower. In missions where resupply is possible, coordinating with your team to reload your sentry can extend its uptime, thus increasing your chances of reaching the 100 kills mark.
Collaboration with teammates cannot be overstated in Helldivers 2. Communicating with your squad about where and when to deploy your Gatling Sentry can prevent overlapping coverage areas and ensure that defensive gaps are minimized. In situations where multiple turrets are in play, coordinating their placement so their fields of fire complement each other without causing crossfire incidents is vital for maintaining an efficient killing ground.
Understanding enemy behavior is another aspect that can't be ignored. Different enemy types have unique attack patterns and vulnerabilities. By familiarizing yourself with these, you can predict their movements and place your Gatling Sentry in positions where it will do the most damage. For example, if you know a particular enemy type tends to rush in large groups, you can set up your turret in a location where these groups are funneled into its line of fire.
Lastly, adaptation and learning from each mission are key components to success. Every encounter in Helldivers 2 provides valuable lessons on enemy tactics, map layout, and effective equipment use. Paying attention to why a Gatling Sentry was more effective in one situation than another allows you to refine your strategies continually.
Killing 100 enemies with a Gatling Sentry in Helldivers 2 requires thoughtful positioning, strategic mission selection, efficient ammo management, teamwork, and a deep understanding of enemy patterns. By applying the principles outlined in this guide, players can leverage the Gatling Sentry's devastating firepower to its fullest potential, contributing significantly to their team's success and elevating their status within the ranks of the Helldivers.